
Image Transfer Tutorial
If like to try out an alternative for those expensive iron-on, then maybe you should have a look at this! I love this transfer technique, it's cheap, easy and fun because you can achieve different "looks": from distressed to crisp images...it's worth a try!
What do you need:
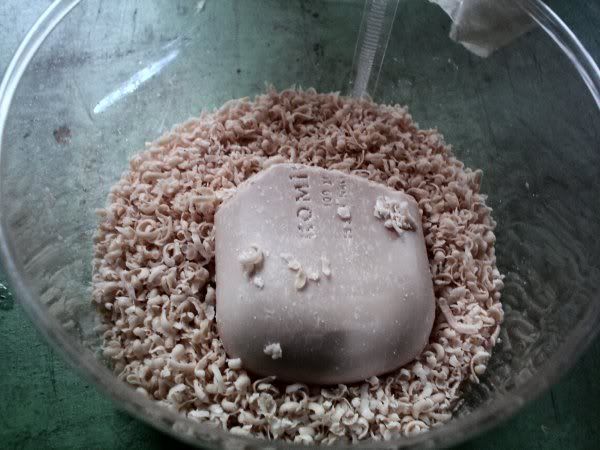
soap shavings
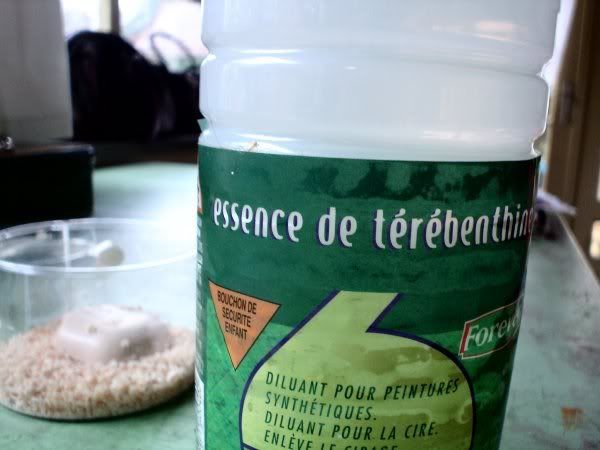
turpentine
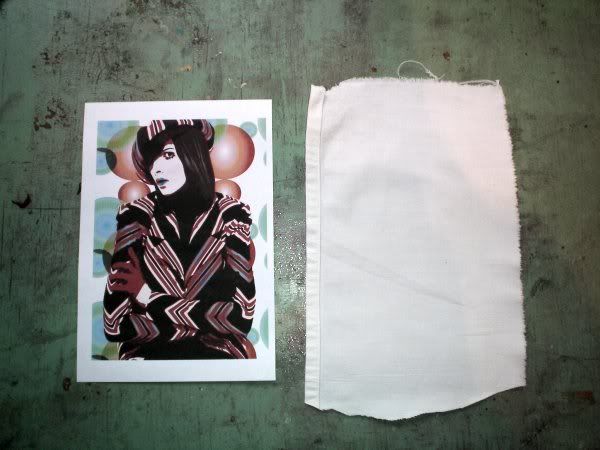
a piece of fabric and a fresh inkjet print
and : a well ventilated workspace!
Get a cup and fill it 1/4 with hot water, add two tabelspoons of soap shavings and stir. Then add a table spoon of turpentine and keep stirring until it looks like this:
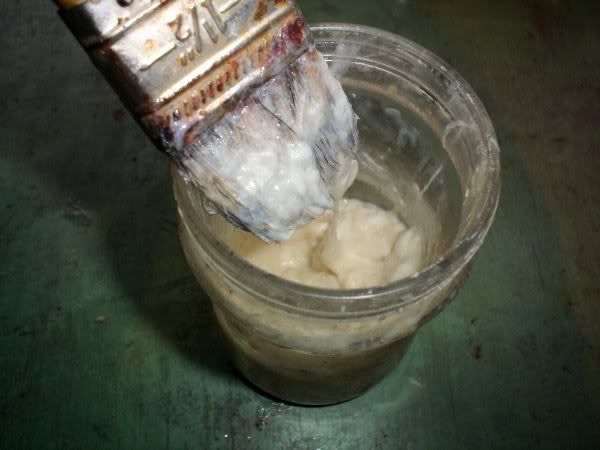
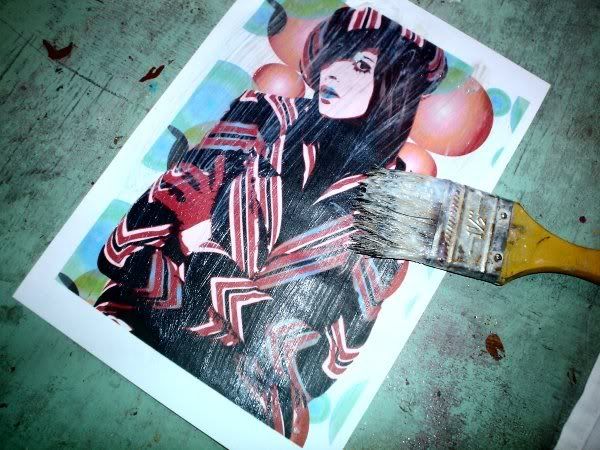
Now we're ready to print! get your piece of paper and apply the soap and turpentine mix to the front of your print:
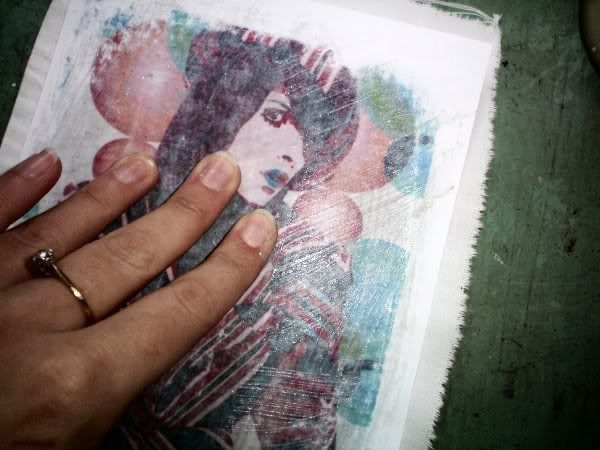
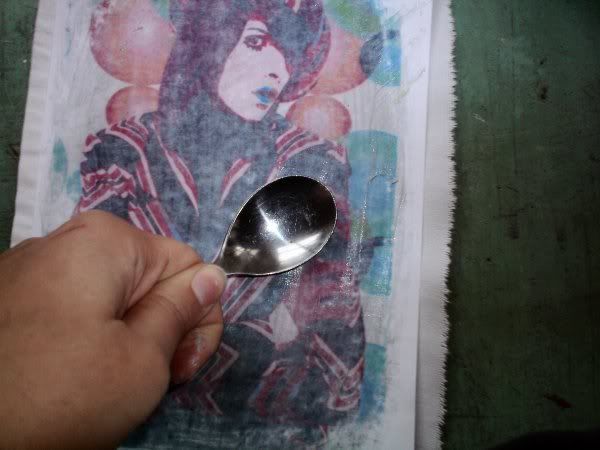
Then put it face down on your piece of fabric. Press it down firmly and apply the mix to the back. The paper will become slightly transparant. The mix can be applied quite thick, as long as you are careful not to rip up the paper. I like to use my hands to rub down the print, but a spoon is very handy too, it depends of the effect you desire:
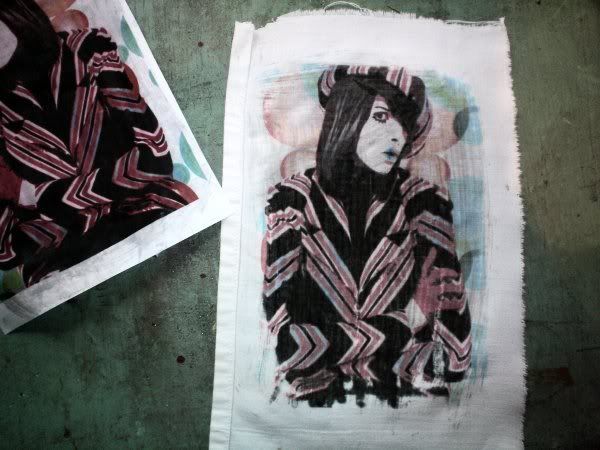
Now peel back carefully ...and there it is!
How to "set" the print
Of course you don't want your image to fade after the first wash, but please note that that transfer technique is experimental : depending on the mix and amount of soap and turpentine you will get a stronger or weaker print. There are a few tricks for settings the transfer though:
Let your transfer dry for 24 hours. Get a spraying can ( you know, for spraying or watering your plants) and fill it with 50% water and 50% white vinegar. Spray it on the transfer and let it dry. After that you have to iron your transfer on high temperature or use a heat press. Repeat the last two steps( (spraying can and ironing) a few times, but don't rinse in between. When you have done this 3 or 4 times you can take an additional step and use some varnish on the transfer The fabric will become a bit stiffer, but if you do it carfully with thin layers you can obtain a nice result. This last step is recommened for transferring on t-shirts, but if you are just making appliques or transfers that don't need to be washed frequently, you can skip this step.
Ok, that's it! Feel free to post your comments and questions here, i'll try my best to answer them!
54 comments:
This is great! I have to try it too! ...and then I will be back with questions :)
Did you develope this technique by yourself?
WOW, that sounds amazing.. I will try, if I have some time for "playing"... thanks for sharing :)
WOW! I can't wait to try it out, Yasmin! SUPER tutorial!
I think you have to send it to Etsy too, don't they have a place where they keep tutorials? I think I have read it in a blogpost somewhere!
I do have a question: does it matter which soap it is?
Thanks so much for sharing this - I love it! :)
Cool tutorial! I'll try it, if I have more time, and let you know about it. Thanks for sharing!
Thank you, thank you, thank you! Great tutorial :O) Is this a technique for fabric transfers only? Or do you use it for other materials aswell?
This is such a neat process, I love seing the step by steps.
Thanks for the comments, i'm so happy you like the tutorial!
Ok the questions:
Heli, it is a mix of things i already knew ( turpentine for laser transfers and dish soap for inkjet magazine pictures transfers) and the setting technique is something i developed myself, but also mixed with "granny's knowledge" like the vinegar for setting colors.
ArtMind, i don't think it matters which soap you use: i've used regular cheap soap bars, even decorative soaps in flower and heart shapes and perfumed. Some liquid handwash soaps don't work that well though.
Guro, i have only tried it on fabric sofar. I'm going to try on polymer clay, but the problem is that you have to rub really hard and your "surface" has to be able to absorve the emulsion.
I had a friend who used a similar technique to transfer photographs to foamcore board or heavy cardboard. I think he used inkjet printouts and just the turpentine for the transfer. It ended up with a hazy black and white image, but it was still really neat.
GREAT tutorial yasmin! I'm going to have to try it!!
great tutorial, im defo going to try it on my old boring tops!
Wonderful tutorial! I'll try this as soon as it's warm enough to do outside.
this is great! definitely bookmarked!
Really cool tutorial! I have a question. With Inkjet prints, the colors aren't waterproof when you print it and could run. Do you have to use special Inkjet inks (like ones that are waterproof) to do this because I know I have a Canon printer and I know they don't make them for Canon yet. If you don't have to use waterproof, do the colors smudge at all when you're putting the soap/water/turpentine mix on them? Only asking because I've used modge podge on top of my inkjet prints when I've made collages in the past and sometimes if you don't do it really quick, they run/smudge.
Anyway, really, really COOL!
Great tutorial! I will definitely have to try this, thanks so much for sharing!
Thanks everyone!
q.d., i use regular inkjet cartridges, even refills! The only reason your transfer could get blurry is when you used too much water in your mix. I also never put too much on the front side of my picture,it doesn't have to be soaked.
I've tried working with modge podge, but it becomes hazy and a bit opaque.
GREAT tutorial.
This is a great tutorial. Think I may well be taking a trip out to get turpentine in the morning!!! Thanks doll
Great tutorial! I have to try that, you make it look so easy! Thanks!
Wow, i just discover your blog.
very nice and many interesting things to learn. Thank's for this post and also for the Moo link.
Awesome! Thanks for writing this! I had a tutor who tried to teach us how to do this and it never worked as she seemed to forget the soap and the turps! She told us to use windscreen wash.....
I am defiantly going to give this a go!
This is awesome but I am just wondering. Does this technique work on black fabric or just lighter colours.?
Wonderful tutorial! Thanks for sharing :)
i was given your blog link from someone on etsy...this is awesome! i'm going to be trying it out tomorrow. i'll let you know how it goes.
terrific tutorial, thanks for sharing.
great blog too.
Fantastic tutorial! I'm going to have to have a go at this sometake.
Than you for sharing. This is a really good tutorial.
Wow! thanks for the tutorial!!!
I wish I could've read it yesterday cuz I needed to make a transfer of an image but I had to get it made at a company. This would've saved me lots of pennies LOL
anywho, thanks, i'll give it a try!
Thanks for your tutorial! This is a really unusual way of transferring images, i've never seen it done with soap and turpentine before! Do you know if it will work with turps substitute or does it have to be real turpentine? I think i'll have to give it a try!
Cheers
Joey
Awesome will this work on painted canvas background..or will paint come off?
This is so cool! Thanks for posting! I'm always looking for image transfer techniques. Can't wait to try it out!!
Great tutorial:)
I have to try it soon...
thnx
Will this work the same way onto papers? Or is this specific to fabric?
good post
This is great because the commercial transfer paper is expensive. I wonder if it would work for, say, making sew-in fabric labels?
Fantastic tutorial. I can't wait to try this! I'll let you know when I do!
Very Cool Tutorial! I can't wait to try it!
Does this work when transferring to paper? Please, please? I planned on doing something like it for my year 12 art but I couldn't find a technique that worked.
thanks for the tutorials...i'll try to do it c",)
hello! do you think this technique would work for transferring a large image to a wall? or do you think it would smear too much? thanks!
Its a interesting post.Love to see your post.
Pennsylvania Drug Rehab
I have to join in with the cheers of WOW! Now I know what I'm doing this weekend. Thank you so much for the tutorial
marcia
Great Tutorial! I actually followed your instructions and have done a few but they came up very light.. which ingredient makes it sharper? And also how long do you let yours sit on the fabric? Thanks so much! Love it!
Wow this is really amazing post absolutely fantastic work done,Thanks for sharing this inspirational post keep it up.
Affordable Logo Design
Thanks for the sharing this website. it is very useful professional knowledge. Great idea you know about company background.
Ecommerce SEO Strategies
Eerybody who said they would try it-why no feedback?
Okay..everybody who tried it, can we have some feedback? I would love to try it!
Eerybody who said they would try it-why no feedback?
I have just been trying this and I can only get a very faint image. Any clues please?? Thank you.
And then read something that says leave it for 5 hours before you peel it off. So fingers crossed.
Nope, no better after 5 hours. The image does transfer but it's too faint. Shame.
Lol, took a photocopy printed image, used 1/2 turps with 1/3 HAND soap, rubbed for a few seconds onto canvas and it came out PERFECT!
I tried this and it didn't work I left it on for a while it would only give me part of the image transfer Then I got impatient and soaked my paper in straight turpentine This worked like a charm
most commercial liquid hand "soaps" aren't soap but a form of detergent.
Post a Comment