Showing posts with label diy. Show all posts

Saturday, December 17, 2011

All that glitters...


My tiny christmas tree doesn't have one empty branch this year. Since it is an ugly black plastic thing I though it would be better to over-decorate it and hide the fact that it was one of those cheapy £5 trees. Being a jewellery designer, I have lots of glittery things lying around so this year some of my supplies ended up in the tree. Longs strings of rhinestone chain instead of garlands and cypress cones, which I use for making rings, rolled in glitter instead of balls. The rest is a mixture of vintage 80s ornaments given to me by my mum( from her first christmas tree) and kitschy deer and high heeled shoes.


And what's a glittery christmas without glittery jewellery for the party? These "Barbie lost her shoe" rings are just perfect for it!

Wednesday, February 13, 2008

I love kitchen ware!

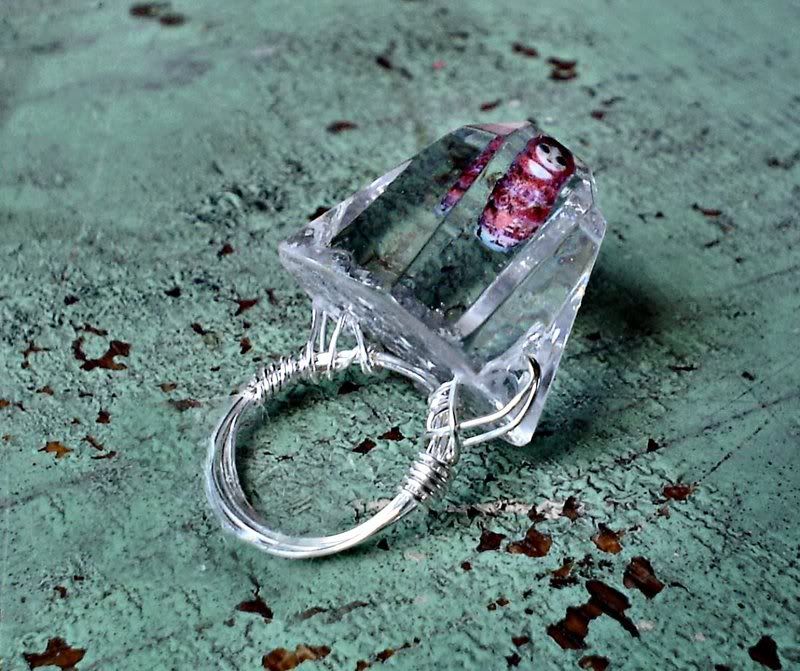
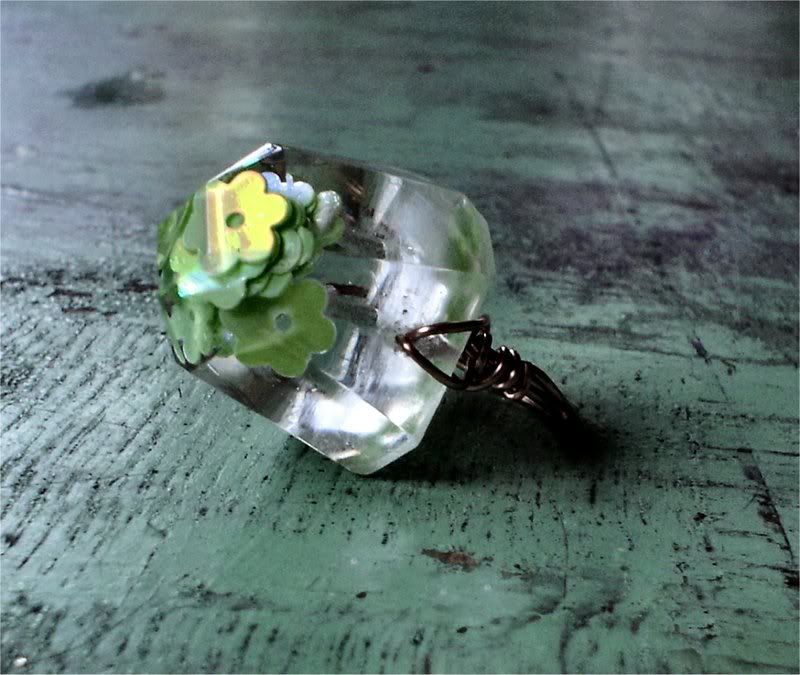
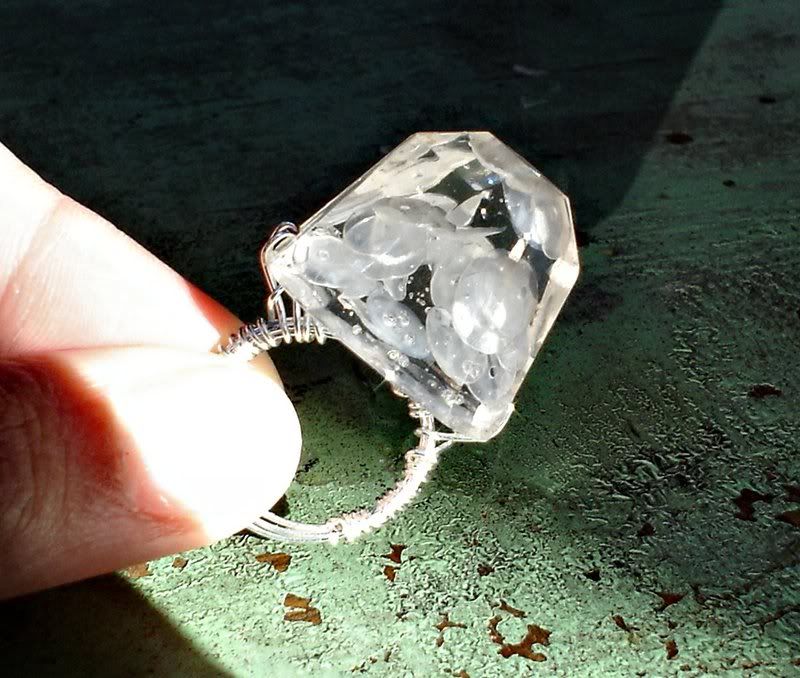
Noooo i haven't lost my mind, i'm not going crazy over spoons and forks but my latest addiction is the hunt for perfect mold...in the kitchen wares section of my favourite thriftstore! I'm not too fond of the traditional resin molds that are for sale on e-bay or other shops that specialize in resin supplies, they seem too generic or just plain boring most of the time. The kitchen ware section of my thrift store is another story because here i find my treasures : egg holders for the fridge, old fashioned ice cube trays, other trays for i-don't-know-what-goes-where for the kitchen, the shapes and possiblities are endless. More than once i've been greeted with a frown when i walk to the till with an arm full of used ice cube trays, happy about my new thrift store treasures. Seriously, i must be the only person buying these things because some of the trays ( the ones i really don't like) have been sitting there for months. My latest mold is the best i found sofar: an ice cube tray for diamond shaped, faceted ice cubes. I think it is just perfect for making ring charms and i've been trying out some new designs:

Matryoshka in Space

Floating Flowers:

Frozen Diamond:


Friday, January 25, 2008

Image transfer continued...

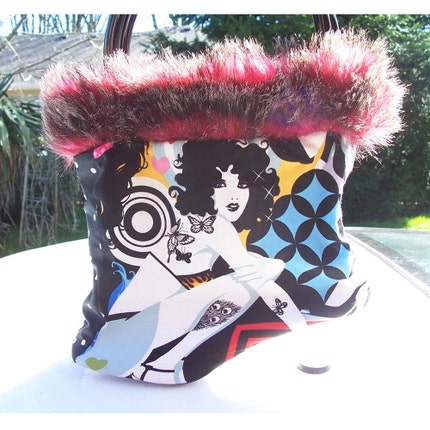
Here's another example of the transfer technique i was talking about a few days ago. I made an illustration of a handbag, digitalized it and touched it up in Illustrator and then printed it out on paper. It was transferred onto a cotton applique and embellished with some glitter, silver paint and a lace trim with sequins. I purposely give it an antique look, which you can achieve by leaving the iron a little bit too long on the transfer when you are setting it. For this applique i needed a matching bag, so i got one of my vintage inspired bags, a black one, painted it silver and added lots of glitter. As a finishing touch i added parts of an old necklace and a bow made of vintage lace. The fun part is that the colour of this bag changes according to the light. It's a very sparkling and bright bag when it's sunny, but when the weather is dark the bag becomes black again and has a more gothic and mysterious look.

Tuesday, January 15, 2008

Image Transfer Tutorial
If like to try out an alternative for those expensive iron-on, then maybe you should have a look at this! I love this transfer technique, it's cheap, easy and fun because you can achieve different "looks": from distressed to crisp images...it's worth a try!

What do you need:


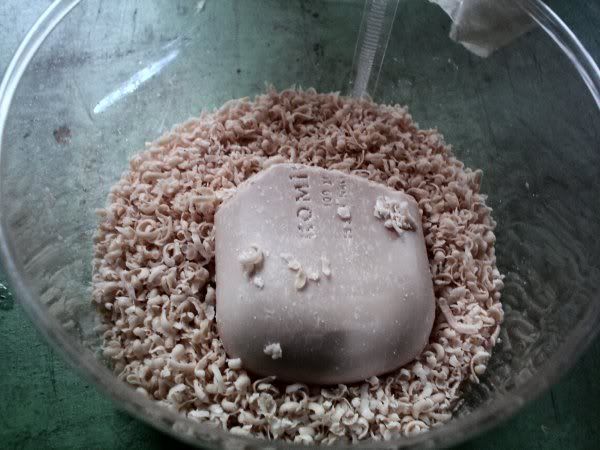
soap shavings


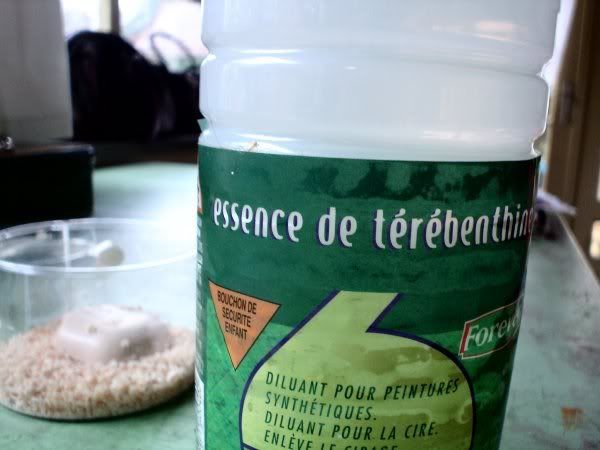
turpentine


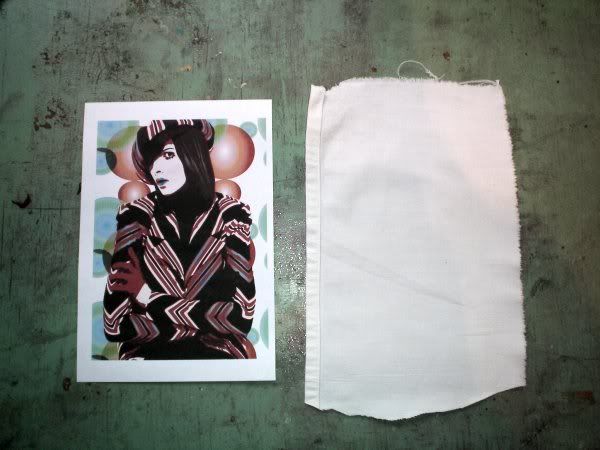
a piece of fabric and a fresh inkjet print
and : a well ventilated workspace!

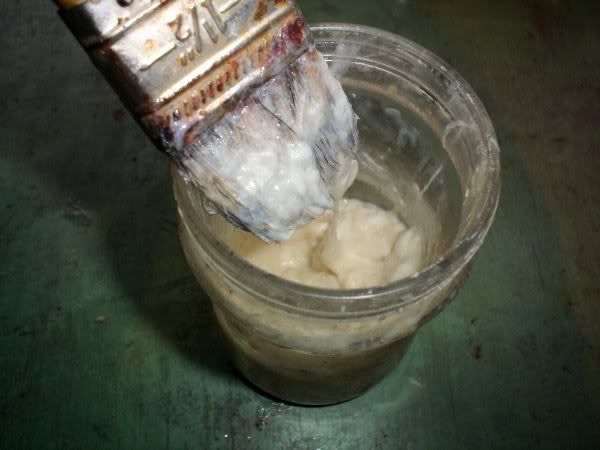
Get a cup and fill it 1/4 with hot water, add two tabelspoons of soap shavings and stir. Then add a table spoon of turpentine and keep stirring until it looks like this:


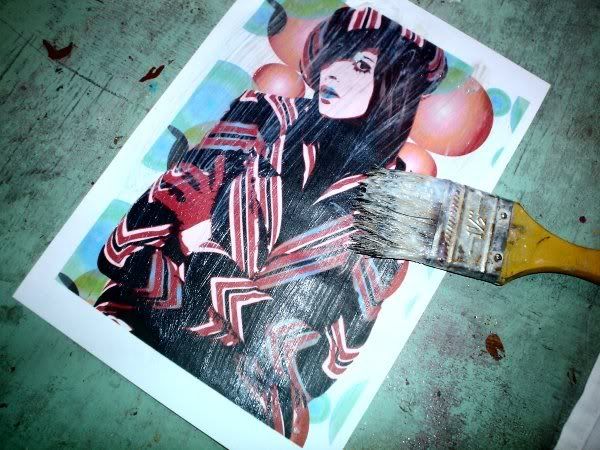
Now we're ready to print! get your piece of paper and apply the soap and turpentine mix to the front of your print:


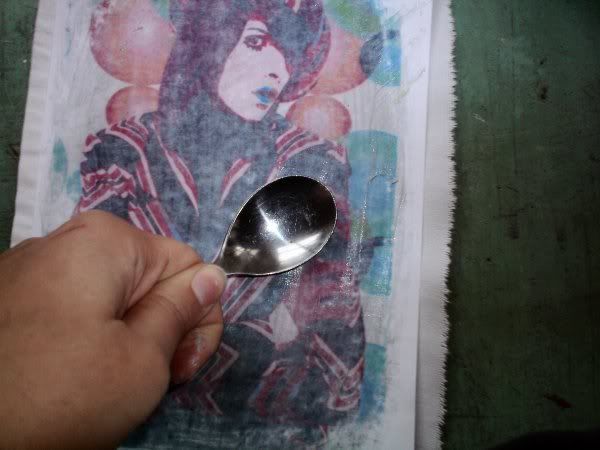
Then put it face down on your piece of fabric. Press it down firmly and apply the mix to the back. The paper will become slightly transparant. The mix can be applied quite thick, as long as you are careful not to rip up the paper. I like to use my hands to rub down the print, but a spoon is very handy too, it depends of the effect you desire:


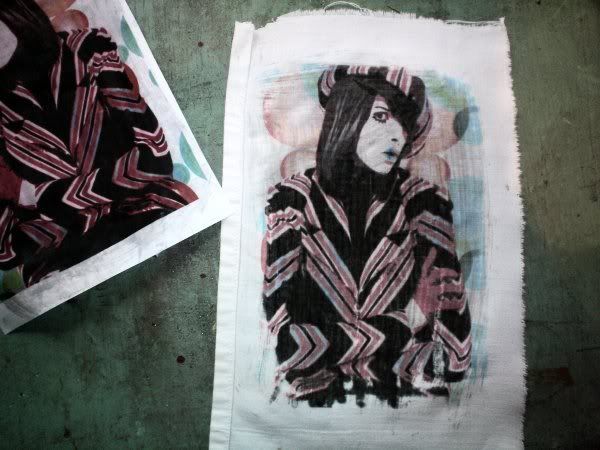
Now peel back carefully ...and there it is!


How to "set" the print

Of course you don't want your image to fade after the first wash, but please note that that transfer technique is experimental : depending on the mix and amount of soap and turpentine you will get a stronger or weaker print. There are a few tricks for settings the transfer though:
Let your transfer dry for 24 hours. Get a spraying can ( you know, for spraying or watering your plants) and fill it with 50% water and 50% white vinegar. Spray it on the transfer and let it dry. After that you have to iron your transfer on high temperature or use a heat press. Repeat the last two steps( (spraying can and ironing) a few times, but don't rinse in between. When you have done this 3 or 4 times you can take an additional step and use some varnish on the transfer The fabric will become a bit stiffer, but if you do it carfully with thin layers you can obtain a nice result. This last step is recommened for transferring on t-shirts, but if you are just making appliques or transfers that don't need to be washed frequently, you can skip this step.
Ok, that's it! Feel free to post your comments and questions here, i'll try my best to answer them!

Friday, January 04, 2008

New Year's Resolutions

I'm not a fan of New Year's resolutions because i just can't keep up with them. Every year it's the same story and every year i simply fail at most of the things i promised myself to do better next year. Maybe i should keep things easy and not stress myself...live day-by-day and don't stress about nothing and everything. Don't they say "good things come to those who wait"? To be honest, i have really neglected my promo-plan since i've been travelling up and down from Belgium to the UK, but yesterday i was contacted by the newspaper for an interview about Etsy and handmade creations. Everything happened really quick so i didn't get time to think about what i was going to say and how everything should look...but also : no time to stress about it! :)

Many thanks and congrats to Karlita, who got the whole thing started and ArtMind, my fellow belgian etsians and EST team girls!

Thursday, September 27, 2007

Cabaret Cairo Bag


My newest bag! I'm quite happy with this one because this is the first bag that is completely "My Design". I still can't make bags, but i found someone ( a little boutique in Aleppo) that wanted to execute my designs in their own workshop...et voilĂ , my first line of bags was born! I love the look of the fifties and sixties so i wanted a firm bag with an old fashioned clasp, but with a modern touch like a pocket for a mobile phone. For Cabaret Cairo i used a fabric that i brought back from my trip to Syria and the picture featured in my dissertation about fashion, so you could say this is a real Yasmin Bochi bag :


Wednesday, March 28, 2007

I'm featured on my indie jewelry! I've been featured on my indie jewelry, a beautiful blog by talented jewellery artist Bombalurina. Please visit her blog and keep and eye on it because she's going to feature many more artists! And then you must visit her etsy shop because she has the most gorgeous and unique vintage jewellery designs... you don't want to miss this!

Monday, March 26, 2007

Photo Booth Beauties : my newest bag
I miss making bags! I did so much jewellery lately and i'm getting bored of it now, so it was time to bring the bags out and do something new. If i say i have alot of bags...then i really do have a lot of bags. I think i'm close to 50 vintage bags waiting for a makeover and i have 30 or so new, custom made ones ( granny style) coming over in a few weeks! And last saturday i bought six beautiful vintage bags at a Retro Day , i should really stop buying now...i think. Here's my latest creation: a white vintage bag, painted pale teal and pale bronze with vintage photo booth pictures. I really like the lock button, it's automatic...that must have been really modern in those days! I love the distressed and faded look and i think it goes well with the theme and style of the bag.

Saturday, March 24, 2007

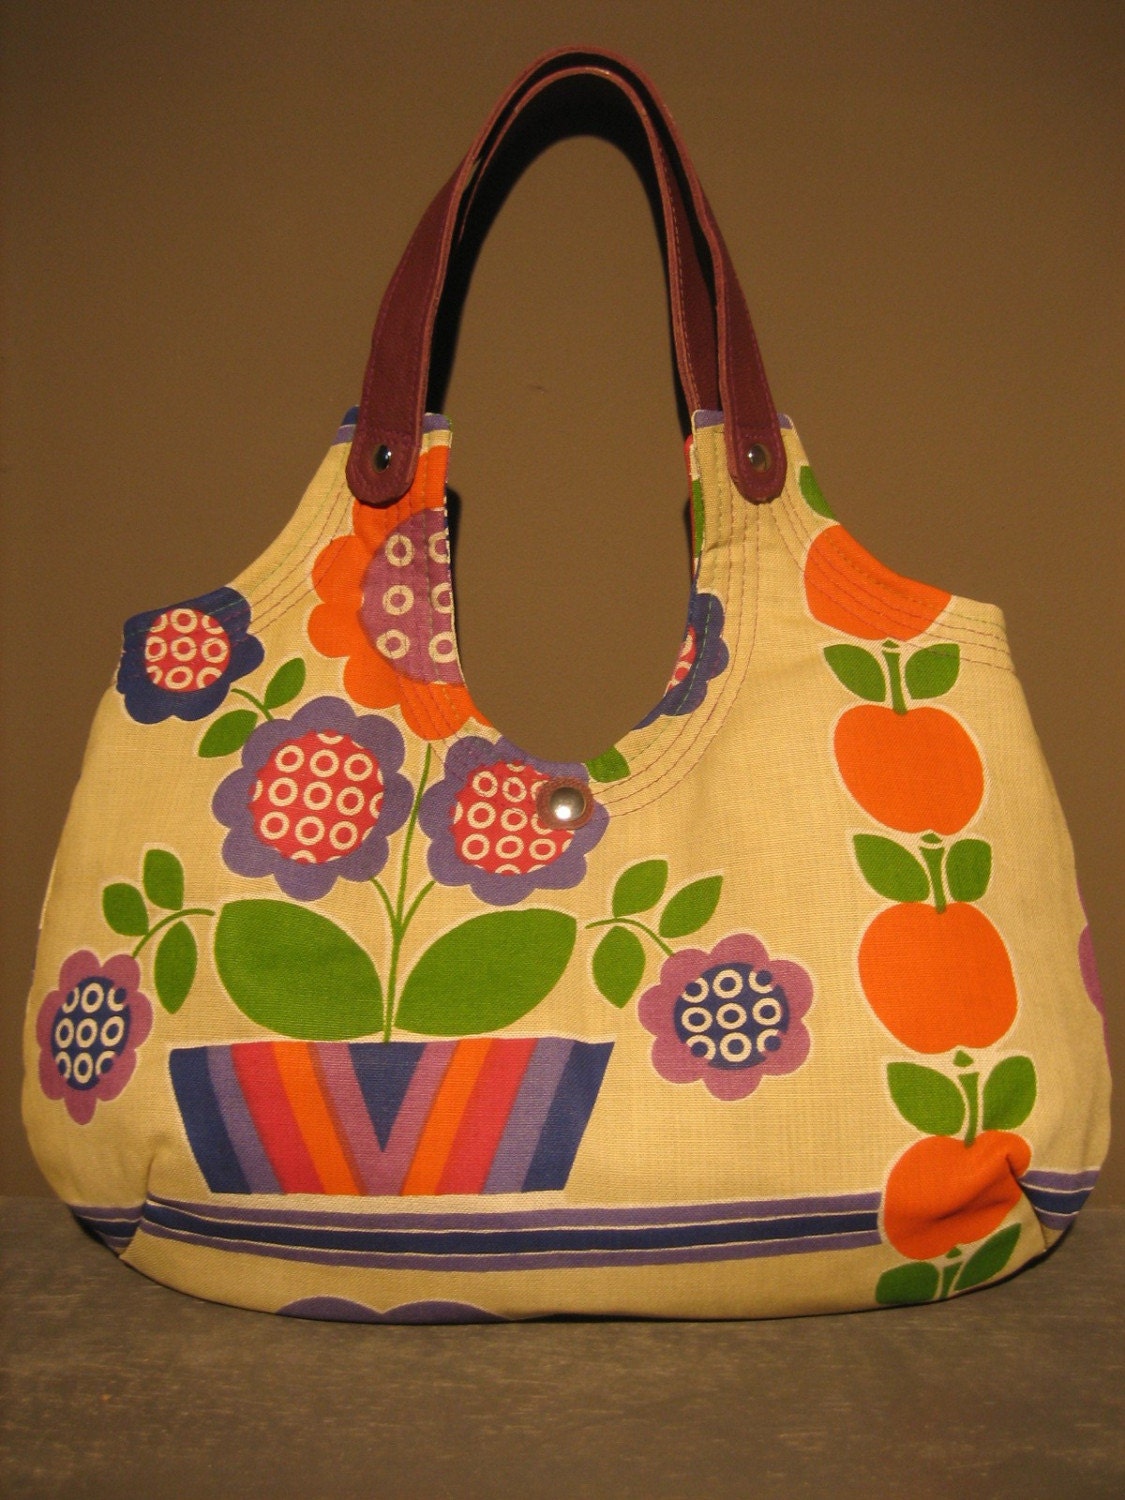
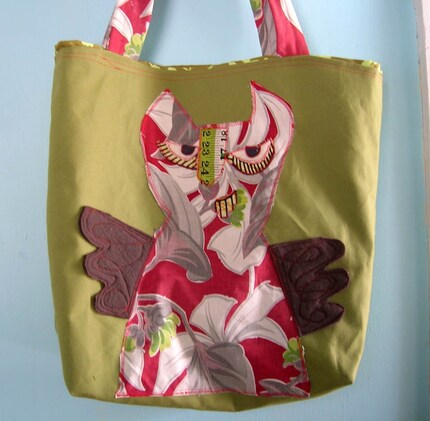
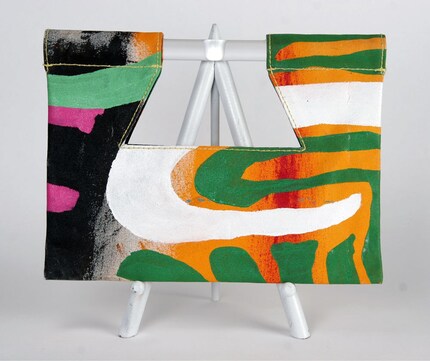
Etsy Finds for 24th March If you've been reading my blog, you must know that i like crazy colourful bags! Here are a few bags that i found on my Etsy treasure hunt of today: FrolickingInk annalinnjace dollybags cindyhoose maxineorange

Wednesday, March 07, 2007

A first try at polymer clay.
After resin...comes polymer clay! I was looking for new transfer techniques to try out and stumbled upon a page about image transfer on polymer clay... and of course i had to try it myself. I ordered two blocks of fimo and they arrived yesterday. These two pendants are my first experiments. I've used the white spirit technique before, on fabric, but it's great for polymer too.

Sunday, February 11, 2007

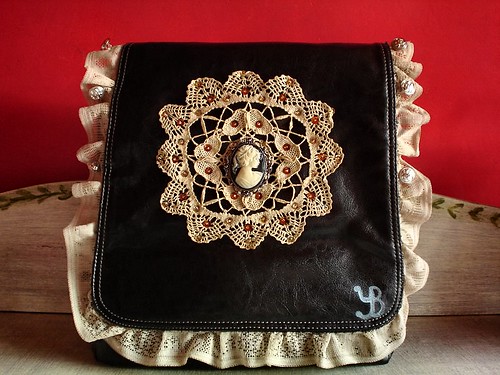
Custom order for my mum. I used her godmother's vintage crochet piece. The trim is made of antique lace, a family heirloom.

The pair of kokeshi earrings that i made this week.

LinkWithin

Related Posts with Thumbnails